
Thinking of tie dying an old sweatshirt in your closet to give it new life? Try this reverse tie dye technique that is super easy and fun!
This post contains affiliate ads.
When I was a kid (in the 90’s), tie dying was the coolest thing on the block. I had tie dyed EVERYTHING. Isn’t it funny how trends come in cycles? Some trends (like the see through “baby tees” trend) I would rather stay gone… but tie dying is a trend that I am happy to welcome back into the mix!
I have a heat press machine that I love. Periodically, I’ll purchase a whole bunch of t-shirt and sweatshirt blanks and make gifts for family and friends. I also do orders from time to time for schools and other functions. I purchased this sweatshirt to use as a blank – it’s called “Topaz Blue” from Comfort Colors.

Let me just pause to say – I LOVE SWEATSHIRTS. Specifically, I love Comfort Colors sweatshirts. They are the best, in my opinion. I am that weird kid that will wear a sweatshirt around the house when it’s 95 degrees in the summer. They are a year round staple in my wardrobe.
How To Reverse Tie Dye
Materials
- A colored sweatshirt or t-shirt ***SEE NOTE***
- Rubber Bands
- Bleach
- Gloves
***NOTE*** After making my first sweatshirt (Comfort Colors brand) and it being a success, I tried doing the exact same method with a hot pink Gildan hoodie. Not only did it NOT change colors after 15 minutes, but I left the bleach on it for almost 2 hours and NOTHING HAPPENED. I’m not sure if that speaks more to my methods or to the Gildan brand… but it was unbleachable. I am going to continue trying this method with different brands and will update!
Step 1: Choose something to reverse tie dye
I chose this Comfort Colors sweatshirt because it was a rich teal color and it was an extra sitting around the house. I am still trying to decide if certain brands work better than others — but it DID work on Comfort Colors!
My sweatshirt had a stain on it from splashing oil on while cooking… so I didn’t mind potentially messing it up completely!

Step 2: Wash the sweatshirt or shirt in your washing machine
When you are doing this method, you want the shirt to start out WET. I’m sure you could just soak it in the sink… but I wanted to try and remove as much dirt as possible.
Some brands will shrink when washed (which is annoying)… so you may want to wash and dry it first and THEN get it wet in order to reverse tie dye it.

Step 3: Tie the shirt
For this shirt, I swirled little sections and tied them off. This took WAY more rubber bands than I was expecting to have to use! I tried to keep the size consistent throughout the sweatshirt.

Step 4: Pour bleach on the shirt and wait
Many tutorials will tell you to get your own little “tub” for tie dying. While this may be handy for color based tie dye… I didn’t fiddle with it for the reverse tie dye. I simply stuck it in my sink!
I focused on pouring the bleach ONLY on the “bubbles”. You could totally pour more all around and I’m sure it would be nice as well. Pouring the bleach only on the “bubbles” gave it a really cool “water” look!
I waited 15 minutes before undoing the ties!

Step 5: Rinse
After waiting 15 minutes (or so!), take the rubber bands off of your garment. I did not CUT them off… because I want to reuse them. However, you could totally cut them off if you want!
Once the rubber bands are off, rinse out your sweatshirt with water. I rinsed it out REALLY well because I wanted to get as much bleach off as possible.
Step 6: Wash and Dry
Once it’s rinsed off, throw it in the washer again without ANY other garments with it. I feel like this is SUPER important because your other clothes will get bleach ALL over them if you do a mixed load. Dry the sweatshirt and VOILA!!

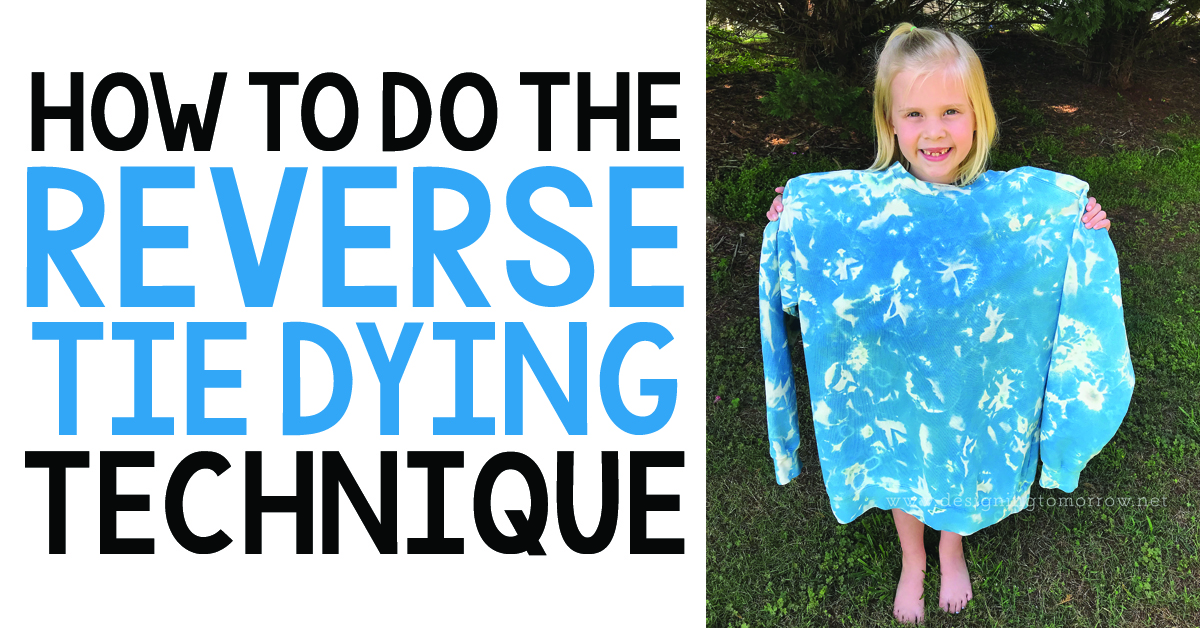
Brooklynn and I decided that this tying method and sweatshirt color made the most amazing pool water sweatshirt. It looks exactly like you’re staring into a pool on a hot summer day!
Check out these posts for more crafting fun!
Follow me for more social media fun!


