
GAHHHHH I love planners. It’s almost ridiculous. Almost. Who am I kidding, it’s not even close to ridiculous. Only my husband thinks its crazy.
Anyways, right around the time school supplies started coming out in the stores (dun dun dun… my FAVORITE TIME OF THE YEAR)… I picked up a classic sized Happy Planner Teacher Edition. I’m NOT TEACHING THIS YEAR – but this is the planner that I find to be most useful in juggling my crazy life!!
It took me a few weeks to figure out how exactly I wanted to decorate this planner. I’ve got it now – I love it – and I use it EVERY DAY.

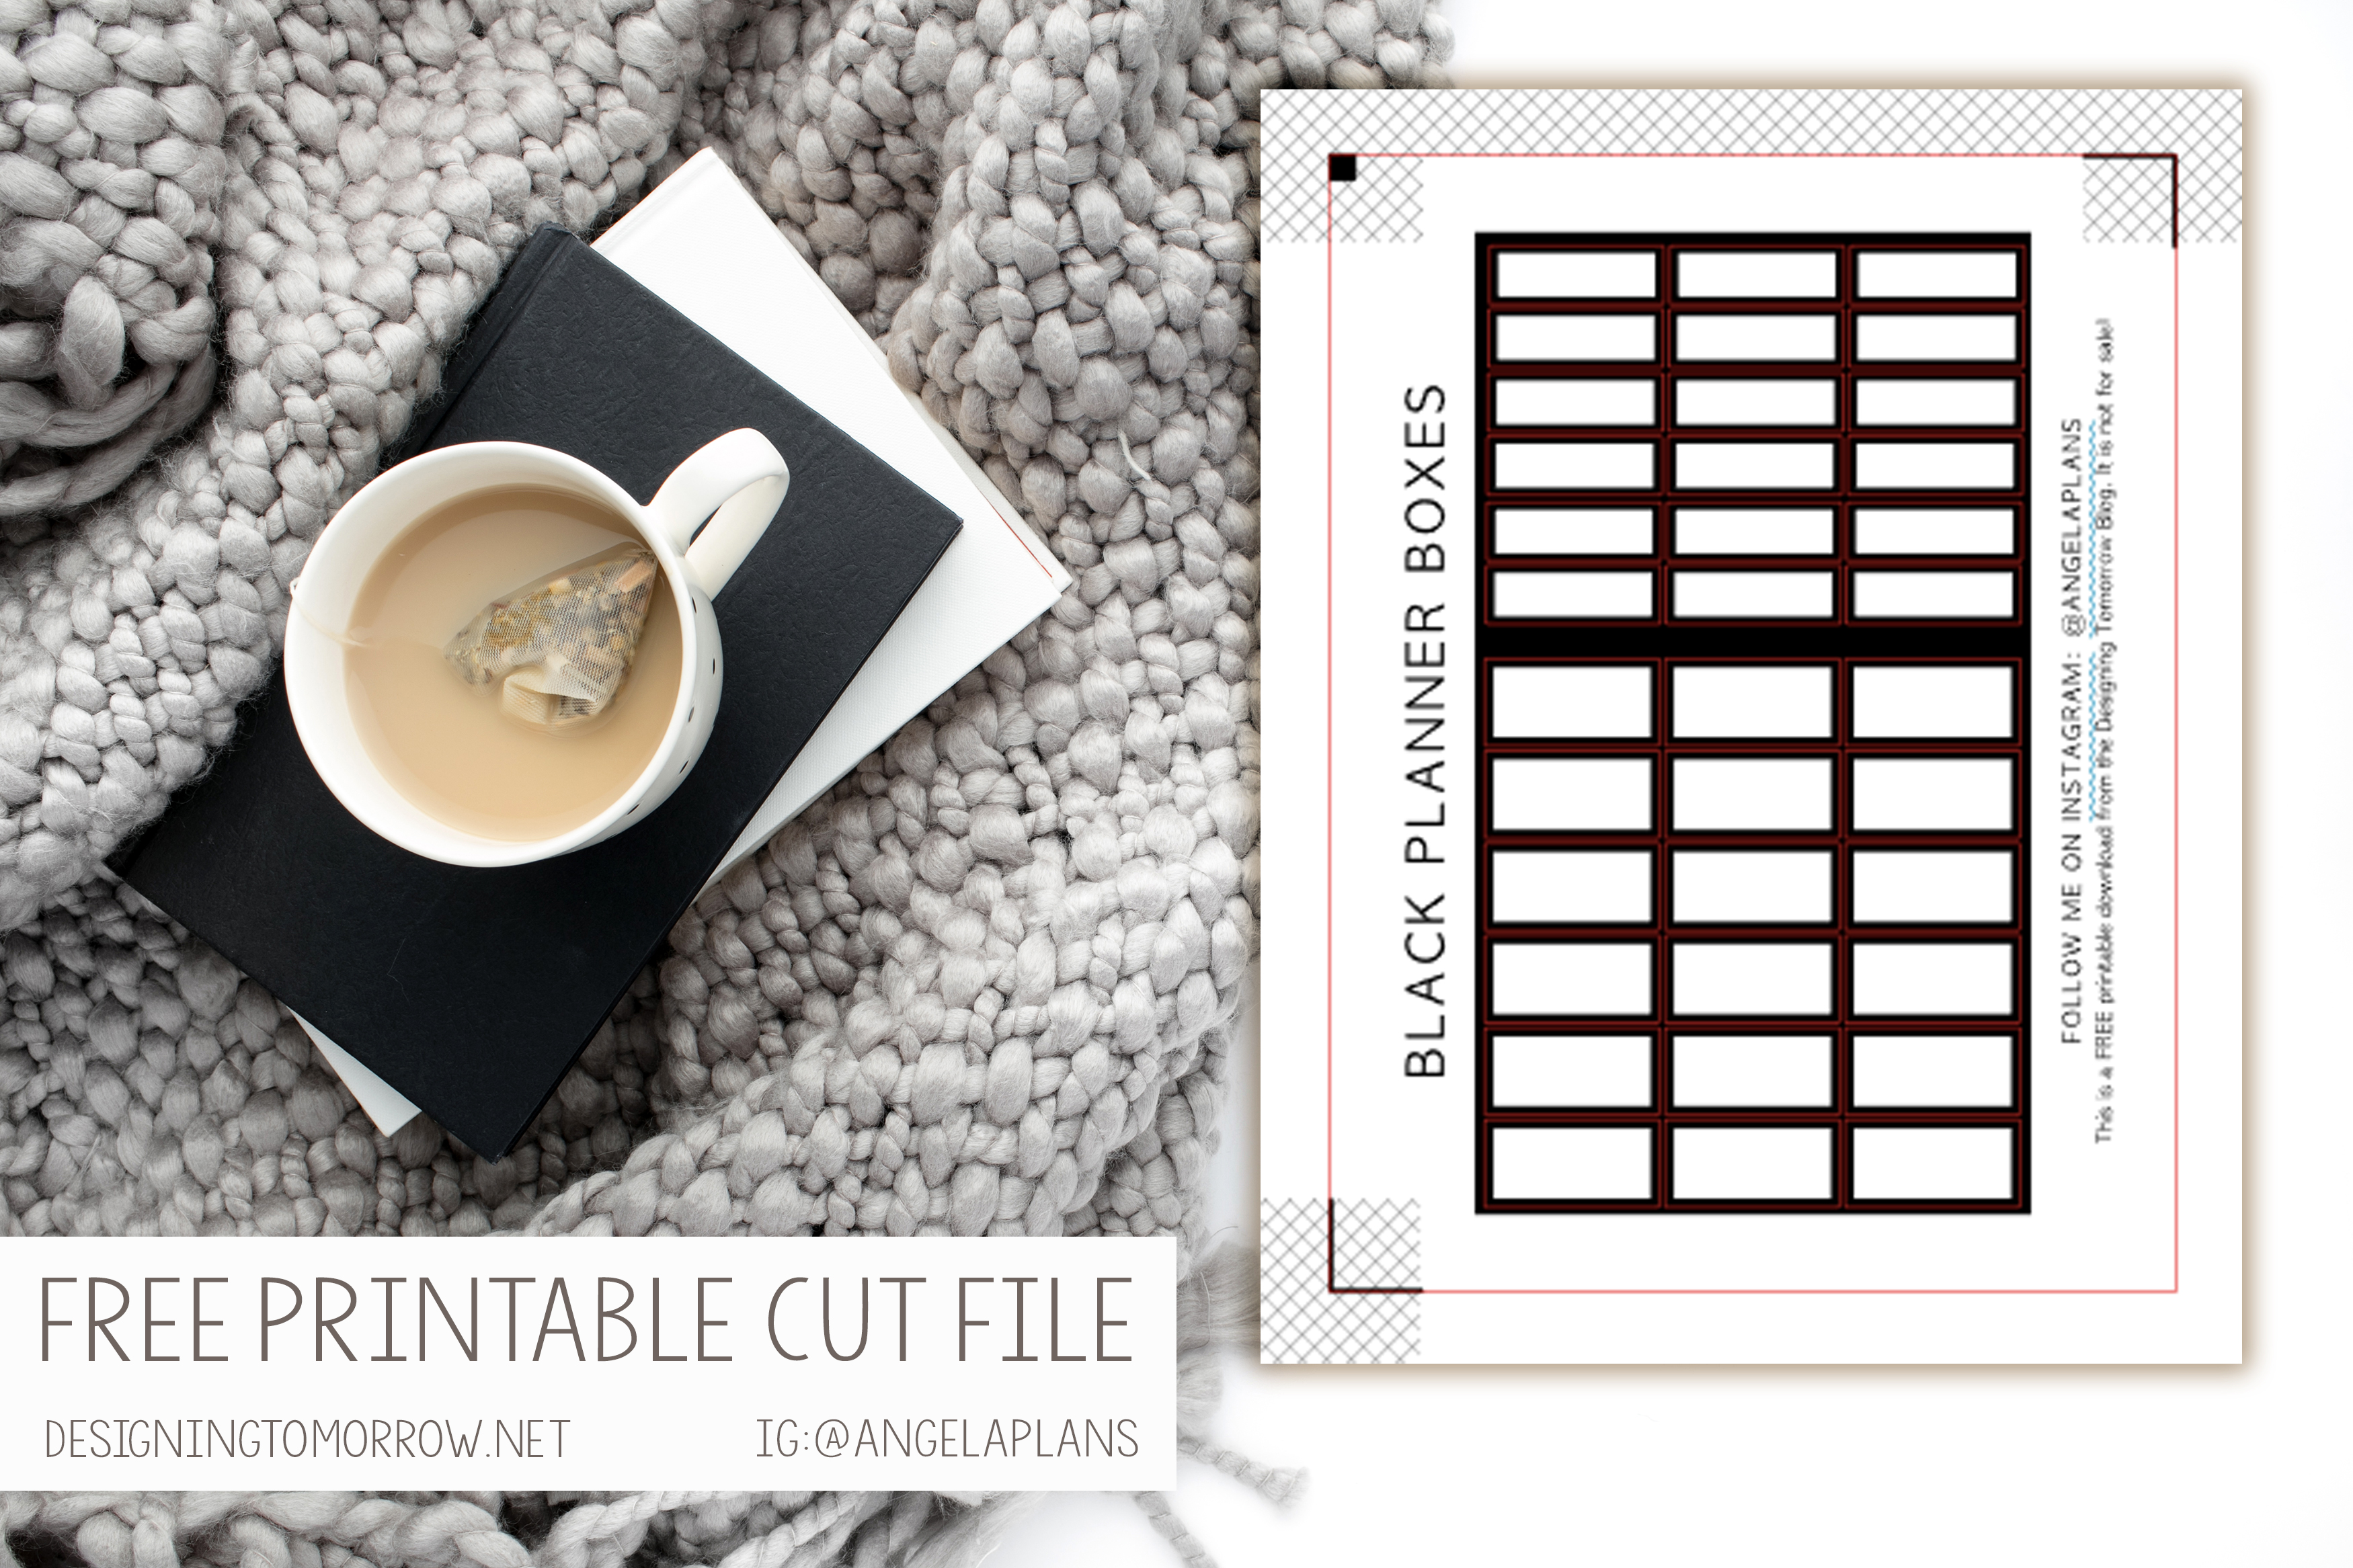
First, I set it up with black boxes at the top and at the side. You can download these boxes HERE as a free silhouette file. They’re really basic but OH SO USEFUL. Feel free to change the colors if you feel so inclined!

Then, I use my Zebra Mildliners (autocorrect hates this word. Every single time.) to give each box a little pop. I’m usually a rainbow girl but sometimes switch it up depending on my mood.

After that, I add my own titles on top of the black boxes. I make these in the Silhouette studio – it’s super easy! I’ve really started falling in love with cutting out my own stickers. Looking on Etsy is a GREAT place for some super cute stickers… but you can also manipulate a ton of fonts and graphics in your Silhouette studio software to make really adorable stickers on your own! Here’s what I use to print and cut my stickers at home:
- Silhouette Cameo is most commonly used by people.. but mine is BROKEN… so I’ve been using my Silhouette Curio.
- Sticker Paper… I have a few favorites
- Cheap White Matte Sticker Paper
- This is the best value for your money. You get a TON of sticker paper for really cheap. It works well and cuts beautifully.
- Premium Waterproof White Matte Sticker Paper – I LOVE the waterproof sticker paper. The downside of this kind of paper is that it’s significantly more expensive than the plain matte paper AND it does initially have a crazy powder all over it right after cutting (you can just wipe it off). If you can get over those two things, the quality and feel of this paper is MY FAVORITE. I’ll link my two favorites that I’ve tried.
- Cheap White Matte Sticker Paper

I go ahead and fill in all of my daily to-dos for the week after I’ve set up the planner. I DO NOT highlight anything until after I’ve COMPLETED the task. This gives me a really easy visual on what I’ve done and what I still need to do for the week.

This planner has been SO good for keeping my work/blog/social media/appointment life all organized. I LOVE the grid layout so very much. One thing I love about the Happy Planner system is that even though not all layouts work for all people… the system is SO customizable that it’s easy to make it work for you. Here’s what I also did to this planner to make it a little more “mine”:
- I added beautiful metal expander discs so my planner could hold more!
- I added a fitness section!
- I took out the second half of the teacher planner year to make room for the extra stuff!
- I added a hard cover to the outside – UMMM I am obsessed with this. I wish Happy Planner would come out with more really cute design for these hard covers.
- I added a snap in pouch to the front to hold my pens and my Mildiners!

How do you use YOUR teacher planner??? Please let me know in the comments below + be sure to follow me on Instagram @AngelaPlans!

Click on the image below to shop all of my favorite planning products!
Follow me on my Social Media channels!


