
Have you ever wanted to start your plants from seeds but don’t have a greenhouse? How about if you’ve wanted to start your plants from seeds but you don’t have space for grow lights? Using a DIY mini greenhouse might be the solution you’re looking for!
This post may contain affiliate links. I earn a small commission from these links.
First: Choose your Seeds for your Garden
I decided to have a medium sized vegetable garden this year. Last year, I only grew tomatoes, peppers, and zucchini – which was great, because that’s what we eat the most of during the summer. However, I wanted to see how much food I could grow from our backyard to help supplement our grocery needs. I truly want to be more self sustainable (but I’m not ready for livestock!).
Here are a few things I’m going to grow in my garden this year:
- Tomatoes (roma, beefsteak, brandywine, and hopefully garden cherries)
- Peppers (hot, sweet, banana, marconi, and pablano)
- Broccoli (this probably won’t be very successful because I live in a hot zone but I’m going to try anyways)
- Zucchini
- Garden Beans
- Edamame
- Carrots
- Herbs (basil, parsley, oregano, chamomile, lavender, and dill)
- Cucumbers (Painted Serpent and Mexican Sour Gherkin)
- Sunflowers (mammoth to harvest seeds)
Please note – I did not start all of these seeds inside in my DIY Mini Greenhouse. Be sure to read your packets to learn if your seeds are best started indoors or directly sown into the garden.
I’m also going to be growing a variety of flowers to help with pollination!
- Zinnias
- Marigolds
- Shade Wildflowers (for pollinators and beauty!)
I purchased some of my seeds from Home Depot and others from Eden Brothers. I’ve ordered from Eden Brothers in the past and it’s always gone well for me.

Next: Prepare Your DIY Mini Greenhouse
Materials:
- Any CLEAR plastic box with a clear lid! I tried a few different kinds, and this one was the one that worked the best for me!
- Plastic nursery pots (I got THESE from Amazon and love them!)
- Plastic plant labels
- Permanent Markers
- Seed Starting Mix (I got some from Home Depot, something similar to this)
To do this, I first put my dirt in a container and got it nice and moist. This seed starting mix is very hydrophobic…. so wetting it first ensures that the entire container is moist and ready for seeds.
Please note:
I do NOT like starting seeds in these peat pots. I either use recycled nursery pots or I order plastic ones from Amazon and reuse them each year. You can also drill a hole into the bottom of red solo cups and it works great – although it won’t work with this DIY Mini Greenhouse method unless you use theshot glass red solo cups.
While the peat pots are nice and convenient… I’ve had a TIME trying to transplant my seedlings from the peat pots to the ground. *Technically* you’re supposed to be able to just plant the entire peat pot into the ground. However, I’m not convinced that the peat pots decompose fast enough to help the roots expand outside of the pot.

Here’s a picture of a DIY Mini Greenhouse that I used the peat pots with. (I’m writing this in mid-April, after I’ve planted my seedlings in the garden.) I noticed that the seedlings that were in peat pots just weren’t thriving compared to the ones in the plastic pots. I ended up repotting all of the plants in the peat pots into nursery containers and they took off and are doing amazing!
Then, fill up each plastic pot. Go ahead and decide what you’re planting and make labels for each pot. YES – you could totally have an entire box filled with the same plant and not worry about labeling each pot. However, if you’re like me, you’re growing a zillion different varieties of things and keeping those things sorted out is too confusing without labels.
I planted my seeds in each pot. I put a few seeds in each pot just to be sure I get something that’s germinated in it. However, you could totally just do one seed.
Finally: Watch your plants grow in the DIY Mini Greenhouse!
Once you’ve planted each seed, put each pot into your plastic container. I like to fill the box up with about a half inch of warm water to make sure the pots don’t dry out. Put the lid on the container and place it in a warm and dark location. *Note: some plants need light to germinate so be sure to read your seed packets!

I tried a variety of boxes for my DIY Mini Greenhouse experiment and I found that this one worked the best for me this year. It was easy to close tight during germination and overall very secure. I also found that the plants I had placed in this type of container thrived more than the ones in the other random containers.

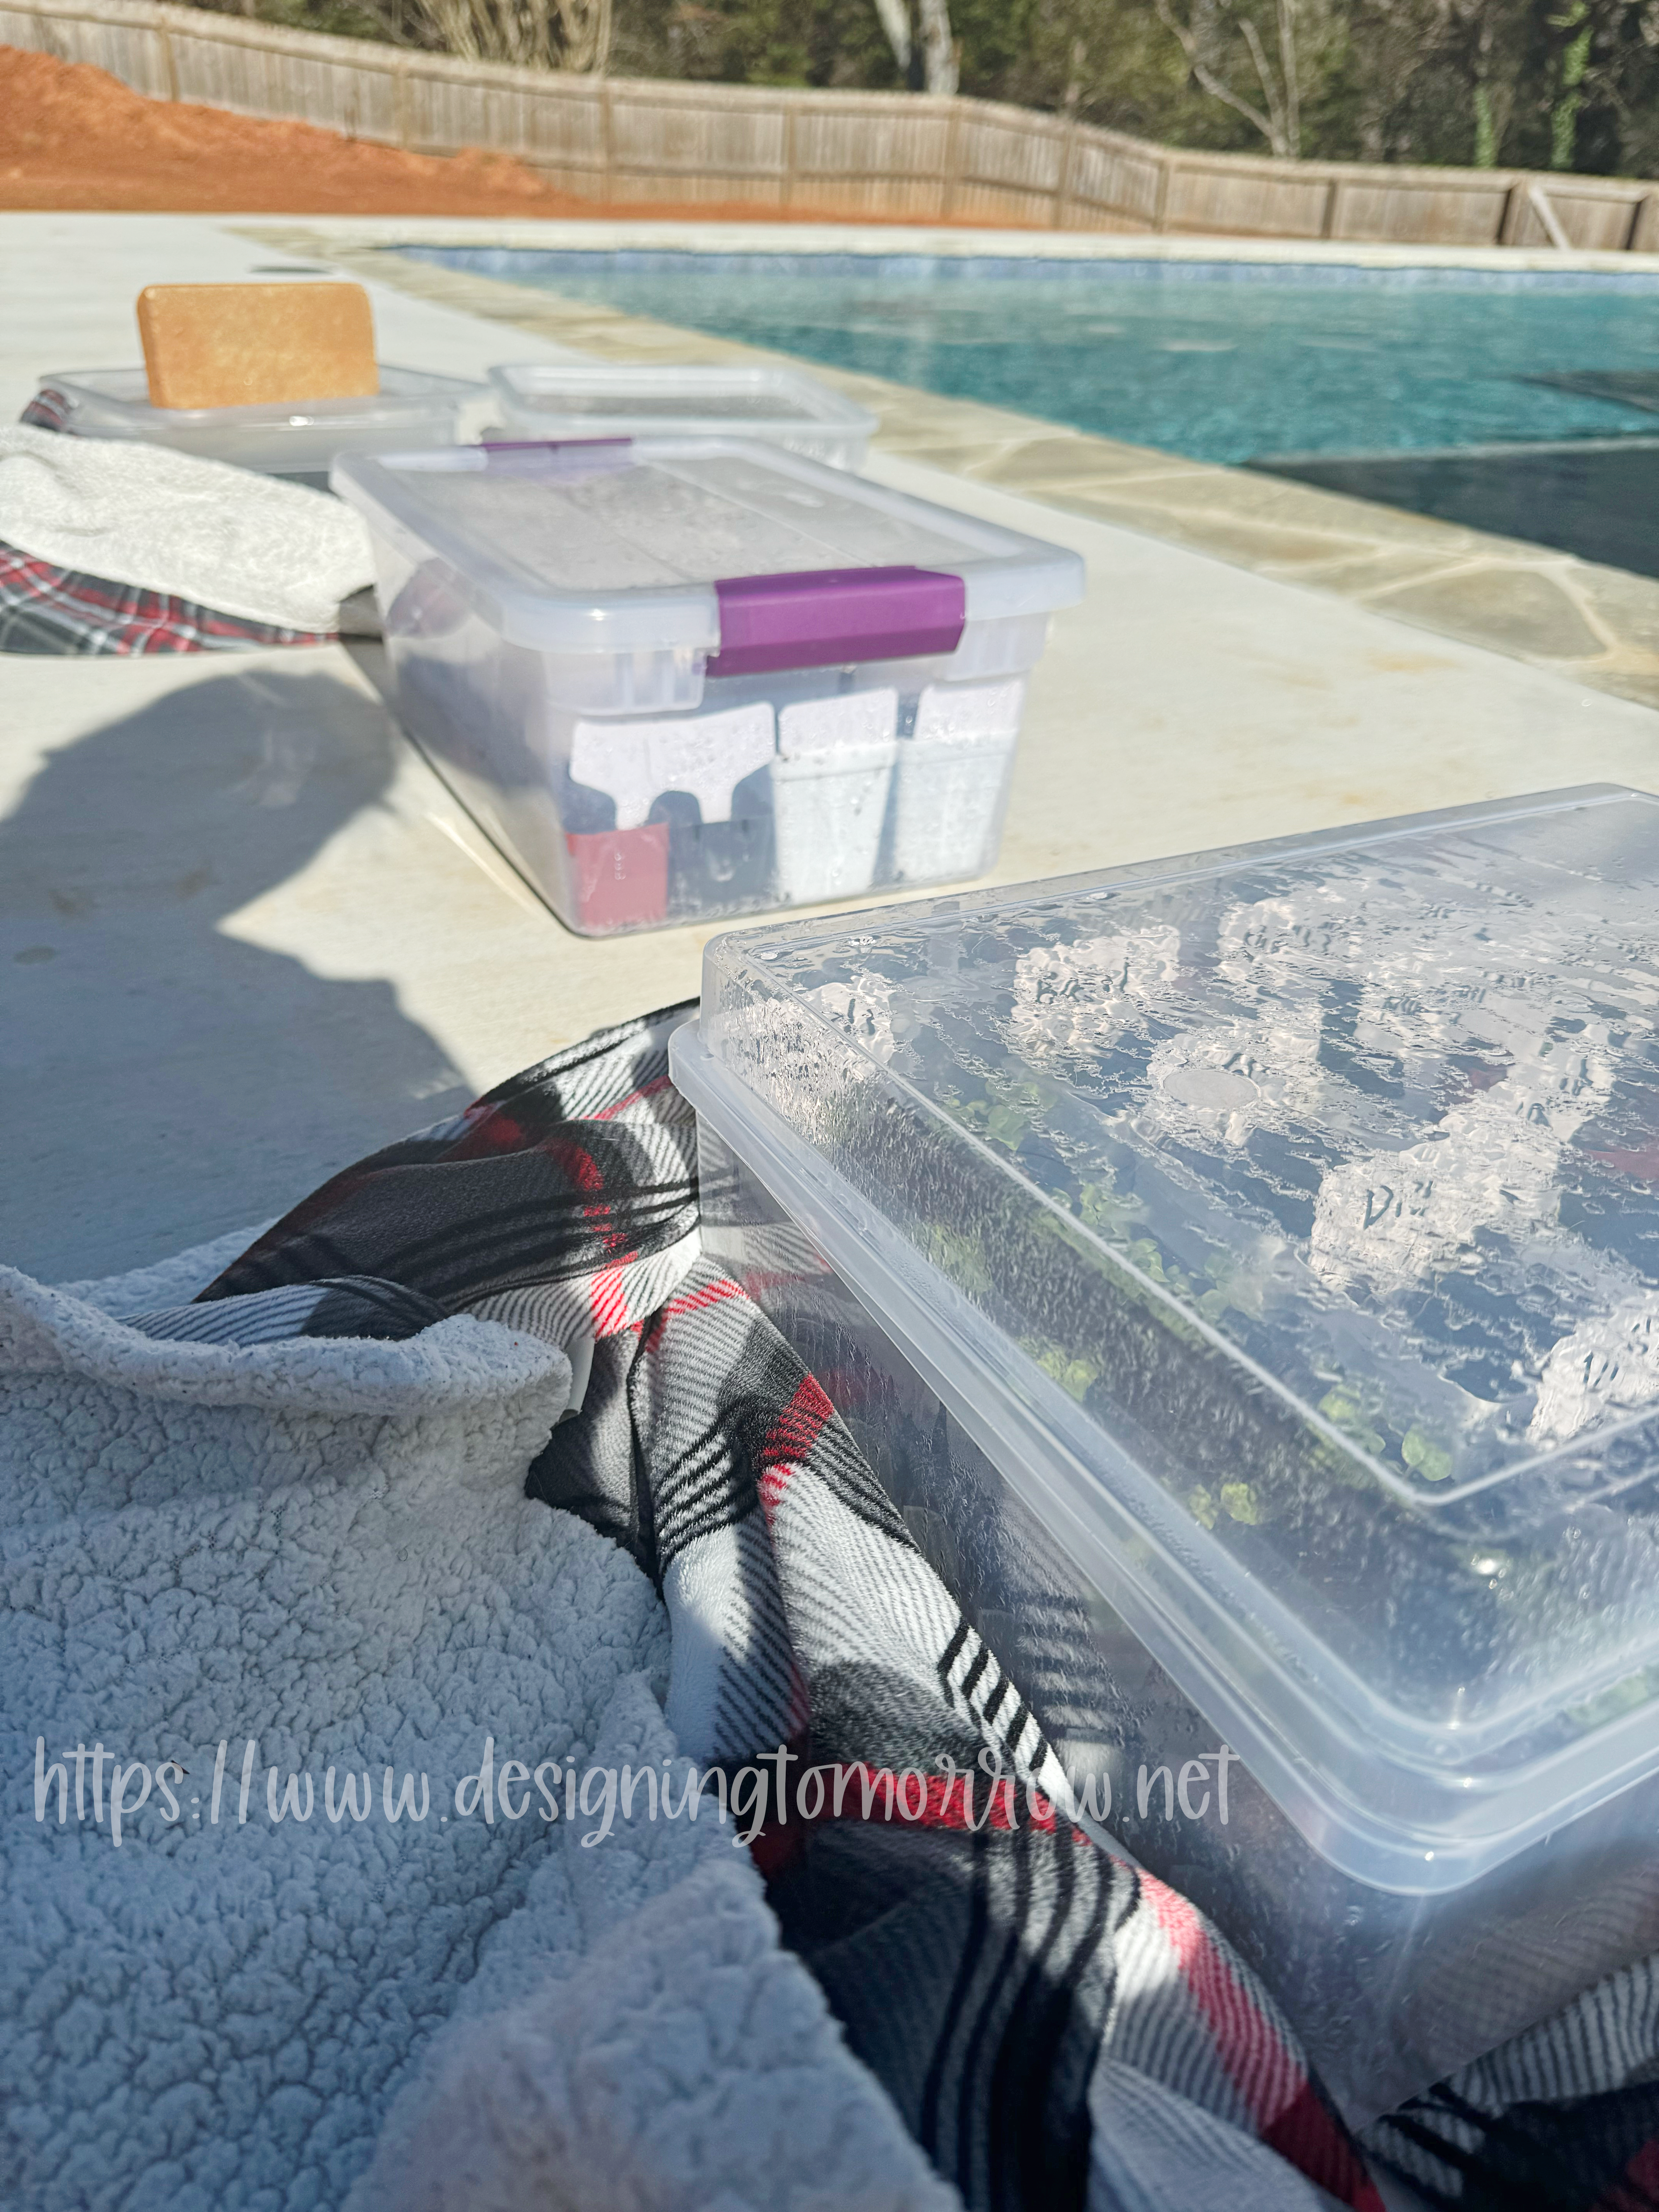
As you can see, there are blankets surrounding the bottom of my mini greenhouses. I didn’t keep my little seedlings inside during the day unless it was brutally cold. That’s because – I don’t have grow lights! So, when it was nippy outside, I’d surround the bottom of the greenhouses in a blanket to keep them a bit warmer. It worked like a charm!
Move Your DIY Mini Greenhouse Outside
I don’t have space in my house for grow lights. So, once my seeds sprouted, I took the boxes outside. I used a wooden shim to prop the lid on my boxes up so that my plants got some air.

Next year I will probably drill some holes into my boxes on the sides so that I don’t have to prop it for air flow. While propping the lid up worked well most days and my plants grew beautifully… Sometimes the wind would blow my boxes right open!

I’ve been gardening for a while now (probably 8 hot seasons), but I still feel like a newbie so often! If you have any additional tips for a DIY Mini Greenhouse, please leave them in the comments! I believe that continually learning is the best way to grow.
Posts that also might interest you…
- How to make soft, calming playdoh at home!
- Sidewalk Chalk Mosaic tutorial
- 2023 Book Recommendation List
- How to make a T-Shirt Quilt Tutorial

One thought on “Use a Mini Greenhouse at Home to Grow Strong Seedlings”
Comments are closed.