
I have participated in reading the bible in a year many times in my life. Maybe 10? I’m not sure at this point. I started when I was a young adult and then took a break when my children were young and life was… well, hard. Once things were slightly less chaotic in my motherhood journey, I decided to get back into it three years ago. I just completed my third year in a row of reading the Bible in a year using a thematic plan – and I love it.
If you’re wondering why reading the Bible in a year might benefit you, this post lists 10 reasons why.
Choosing a plan that’s right for you is very important. I get my plans from BibleStudyTools and have had great success with their plans. I have completed the Classic Bible Reading Plan, the Chronological Bible Reading Plan, the Old and New Testament reading plan, and (for the last 3 years) the Thematic Bible Reading Plan.
I’ve found, time and time again, that using the website for reading the bible in a year is tough. First, I struggle with getting back to the website every single day. For whatever reason, opening the internet every single morning makes my brain say “no”. I have no idea why! However, the part that is the hardest for me is trying to remember which day in the 365 days I’m on! I’m sure it works wonders for many people – but I need something a bit more accessible in order for me to succeed.
Over the years, I have tried two different types of bookmarks (Here and Here), stickers to put into a journal or planner, and just printing the entire page out from BibleStudyTools.
How I make my Bible in a Year reading plan work for me:
What I’ve found is most effective for me and my brain is to have everything in the Notes section of my iPhone. So, today I’m here to attempt to share this method with you. You can try and access the notes here. Since the notes are from my phone, I can’t really see what you’re able to access. So, I’m going to share a step by step method of getting these easily into your notes section on your phone.
PLEASE NOTE: I have apple products. I have no idea how to make notes on an Android phone (or if it even has notes… I’m sure it does… but I’ve never used one so I can’t speak with certainty). Hopefully the process is very similar to Apple!
First, download either the PDF or Microsoft Word version of the plan.
Personally, I had more success with the Word thematic plan vs. the PDF. The Word document seems to keep the formatting much better than the PDF when it’s transferred to notes.
Next, open the document on your phone or computer and then open your Notes App.
Create a new Folder in the Notes App and name it “Yearly Bible Study”… or whatever you want to name it. I’m not here to judge. Then, create your first month. Copy and Paste everything from “January” to the note. It should come out formatted nicely (if you’re using the Word document). If it doesn’t you can just add lines, etc. until it’s formatted to your liking.
I like to have a different note for each month because that makes it a lot more accessible to me. I’m not having to scroll through 365 days to continue where I left off. A month is much more manageable.
Go back to the main folder and create a new note. Repeat the steps above for each of the 12 months out of the year.

I attempted to make a more visual example of this – check out this video below.
Why this works for my Bible in a Year Reading Program:
This works for me because it’s easily accessible each day. I am rarely without my phone, so no matter if I’m traveling or just having a normal morning at home, I have easy access to it.
The different notes for each month makes keeping my spot really easy!

When I’m done with a reading for the day, I simply put an emoji by the passage to indicate that I’ve read it. This is visually exactly what I need to easily keep my spot. I can also easily see if I get behind on any of my readings.
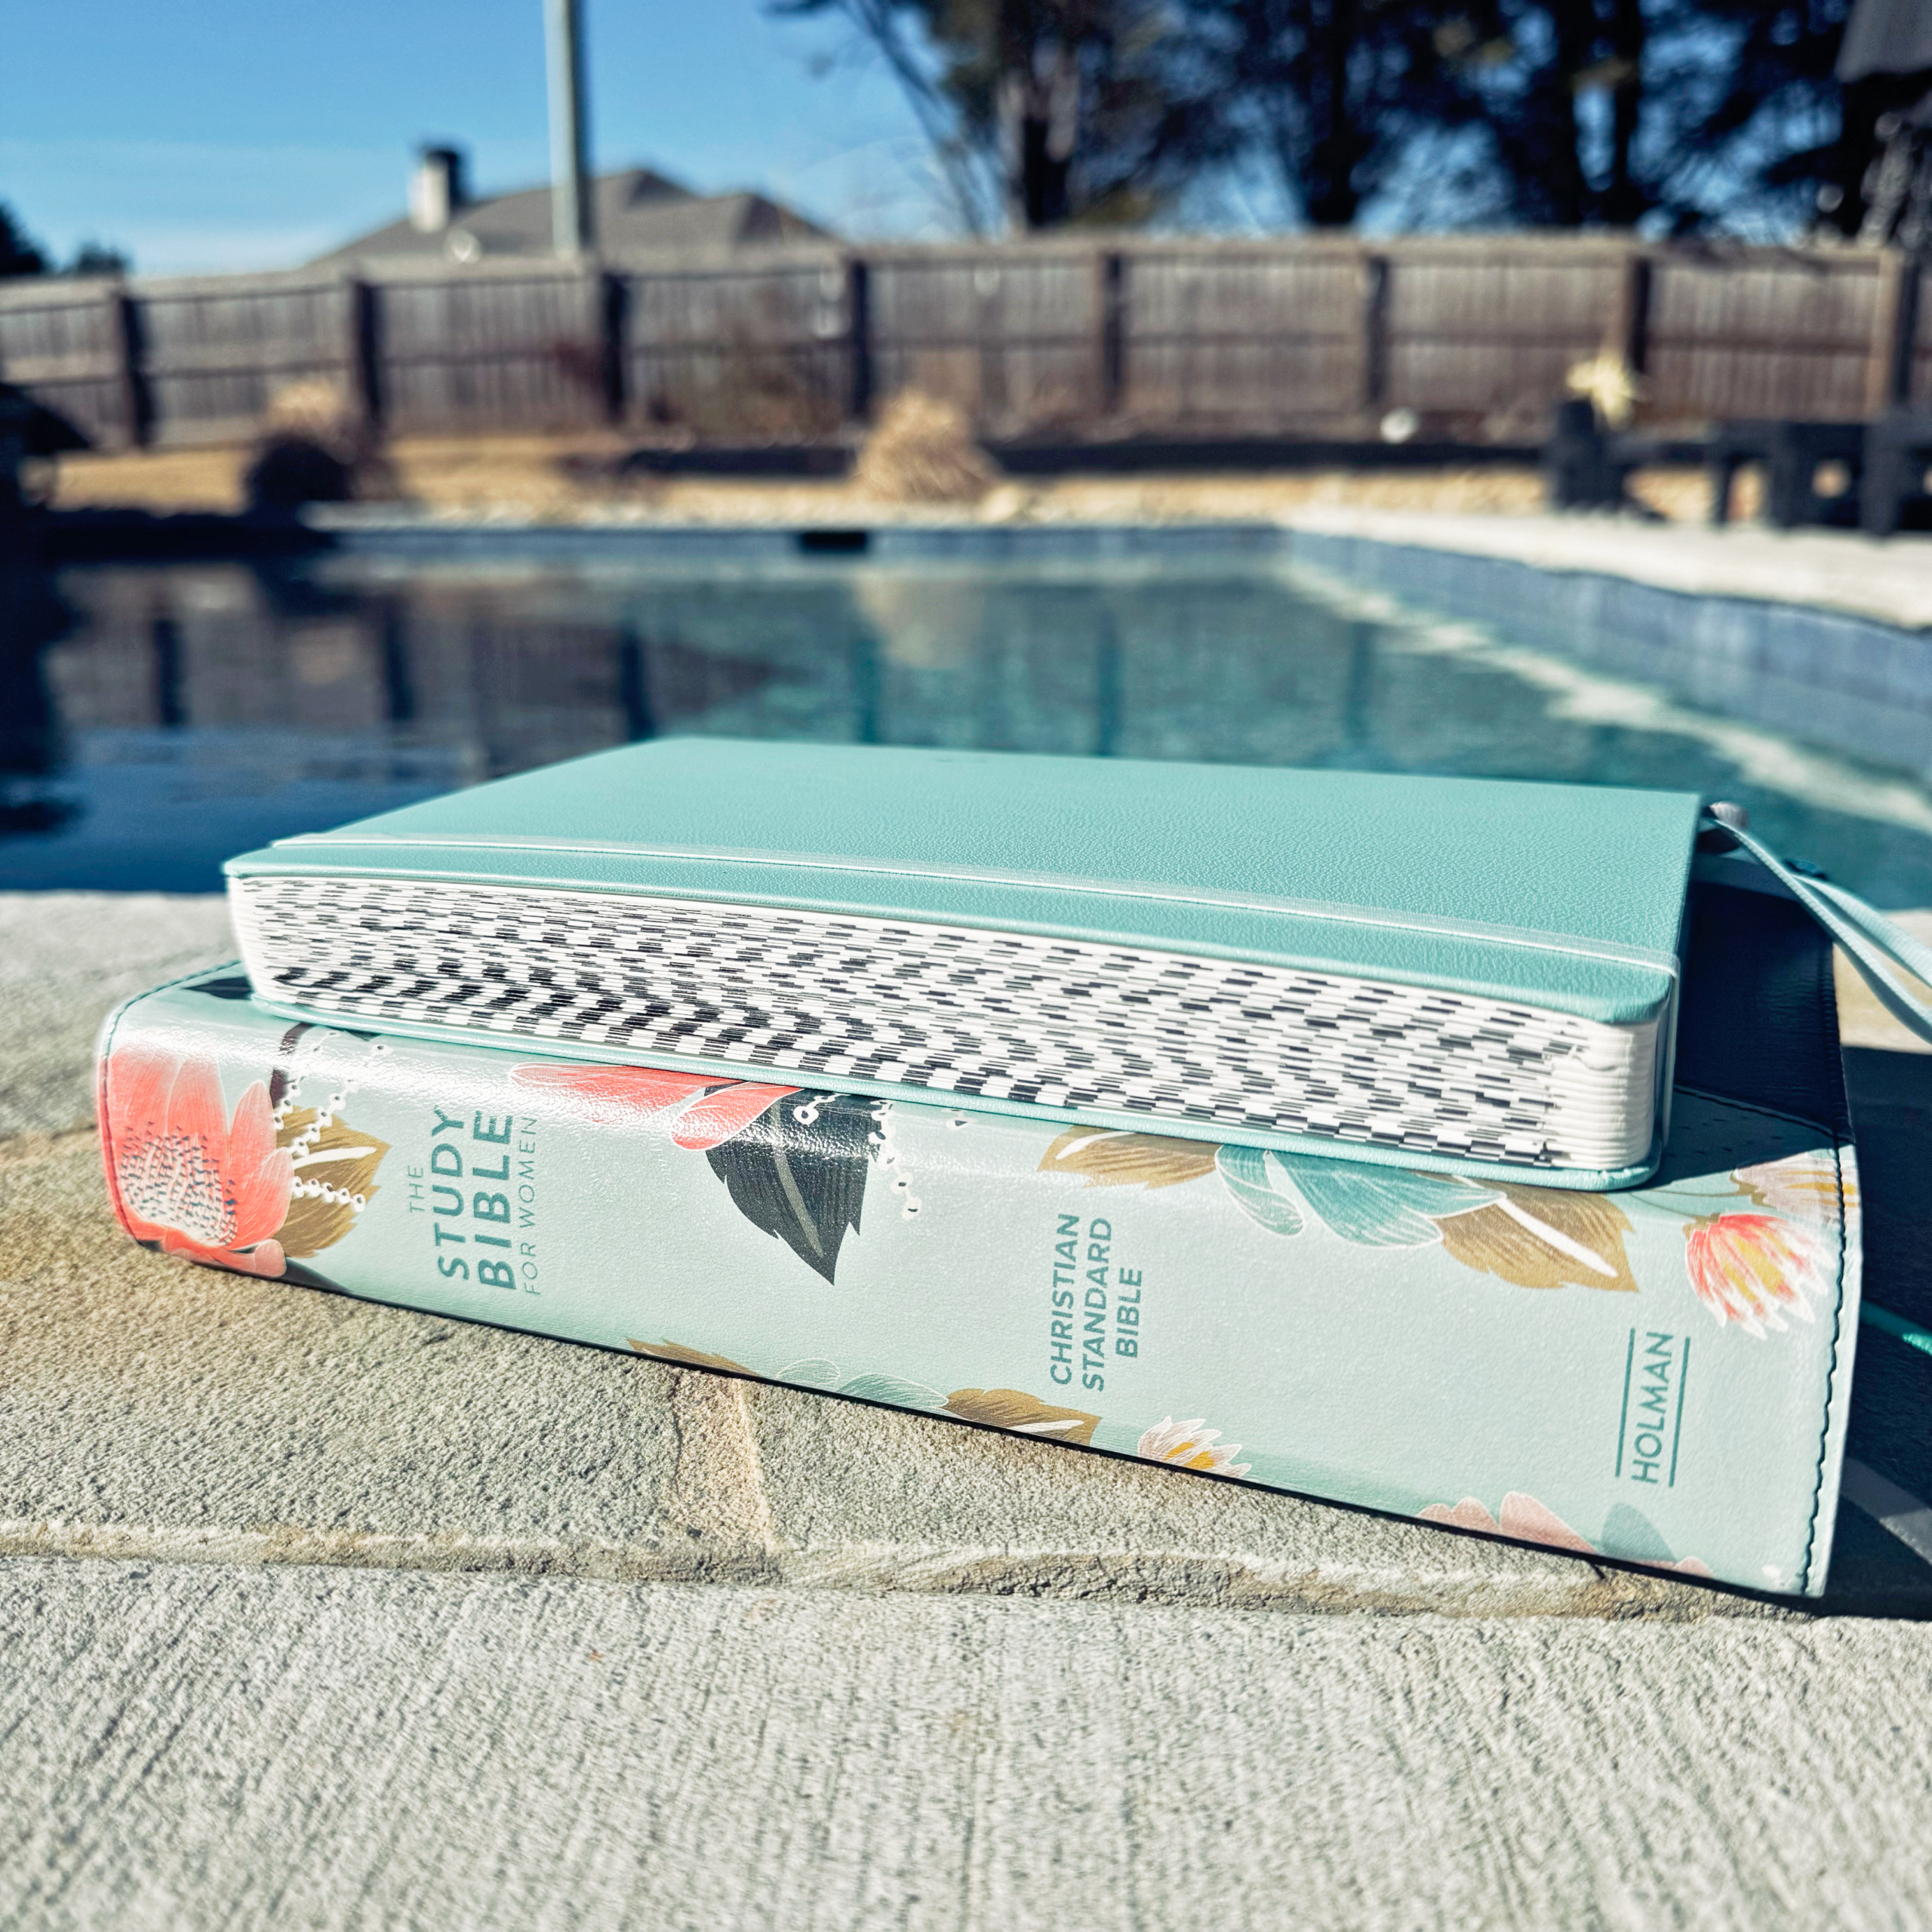
Here are my favorite items that I use when I read my Bible in a year:
- CSB Study Bible
- Greek-Hebrew Study Bible
- Notebook for writing down verses that pop out to me
- Highlighters
